How I Optimized My Google Photos Library With the Power of AVIF
Discover how I achieved maximum storage efficiency in my Google Photos library by using the power of AVIF image format.
Introduction
As a user of Google’s free tier services, I have access to 15GB of storage. With a total of 2.7GB of Google Photos already occupying my storage, I started to worry about the future growth of my photo collection. Considering the rate at which my photos are accumulating, it became clear that my storage would likely fill up within approximately four or less years. To address this, I decided to convert all my images to a better optimized format. which is absolutely my favorite, AVIF format.
Why AVIF Format
When it comes to choosing a highly optimized image format, three major formats stand out: HEIC, AVIF, and JXL. However, considering browser and platform support, AVIF emerges as the clear winner. Let me explain why AVIF stands out among these formats.
JXL, or JPEG XL, offers impressive image compression efficiency. However, it doesn’t supported by popular browsers like Google Chrome and Firefox, which are widely used for daily browsing activities. Relying on JXL for image delivery may result in compatibility issues across various platforms.
On the other hand, HEIC, the format primarily used by Apple devices, has gained popularity due to its efficient compression capabilities. However, it is not supported by any browsers, except Safari. Accessing HEIC images on Android devices can be challenging and may lead to compatibility problems.
Therefore, considering efficiency, browser, and platform support, AVIF is the preferred choice for an optimized image format. Additionally, I have already written a blog post on the topic of “JPG vs AVIF: A Comparison”. In that post, I gone into more detail about the efficiency and visual difference between these two formats. Feel free to check it out for more information.
Google Photos Data Extraction
To convert all of my Google Photos, first I started by dumping the content from Google Photos using the Google Takeout service https://takeout.google.com/. Here’s a step-by-step description of the process
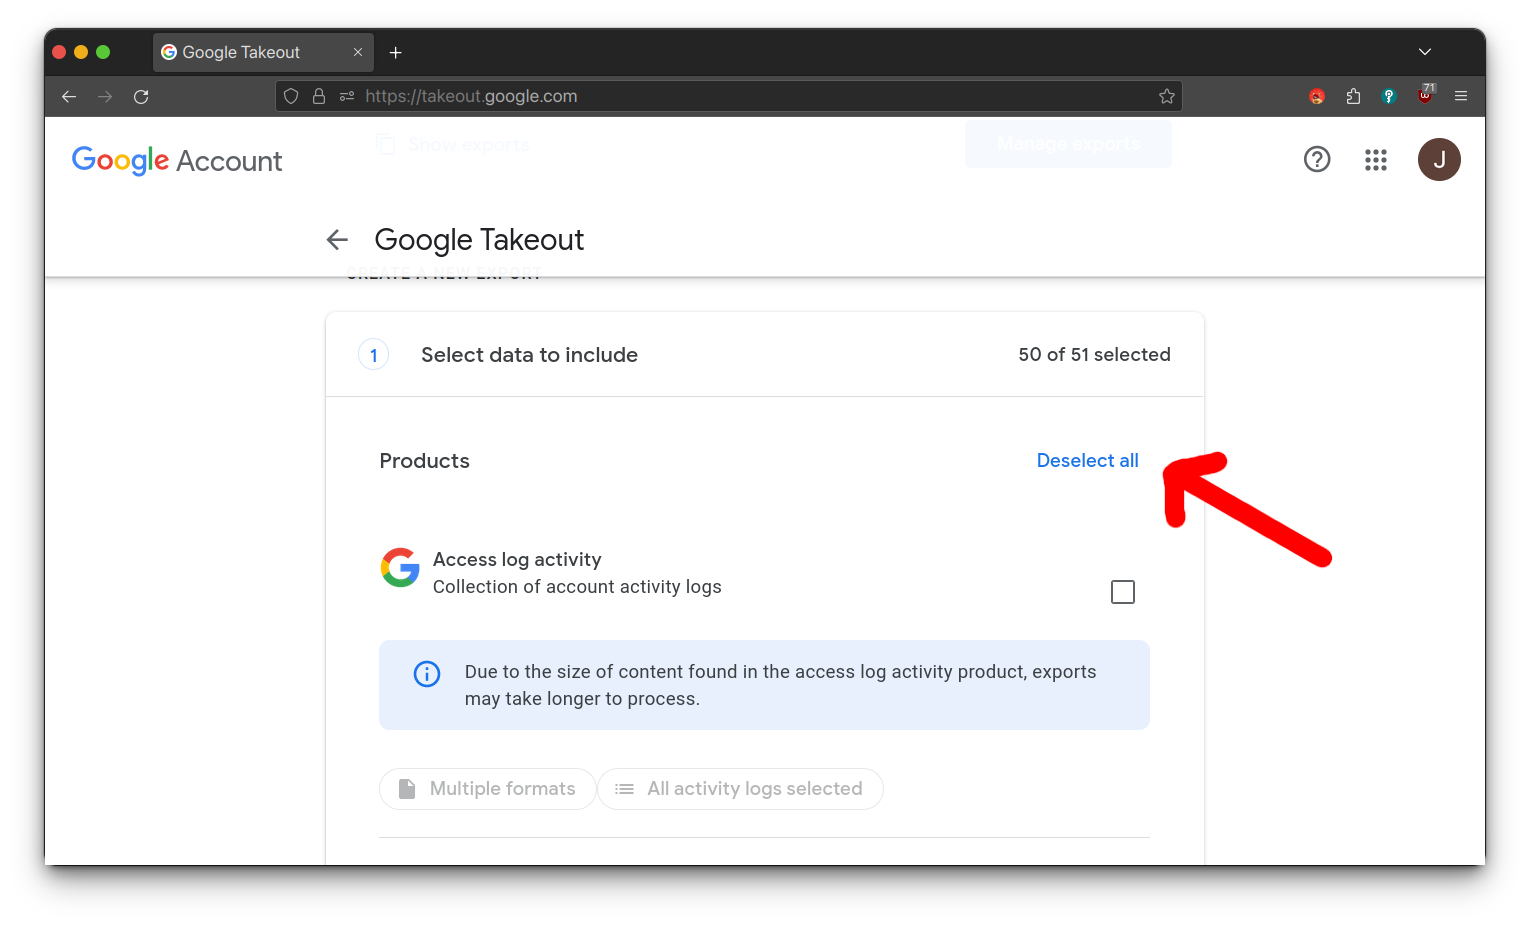
- On the Google Takeout page, I deselected all services.
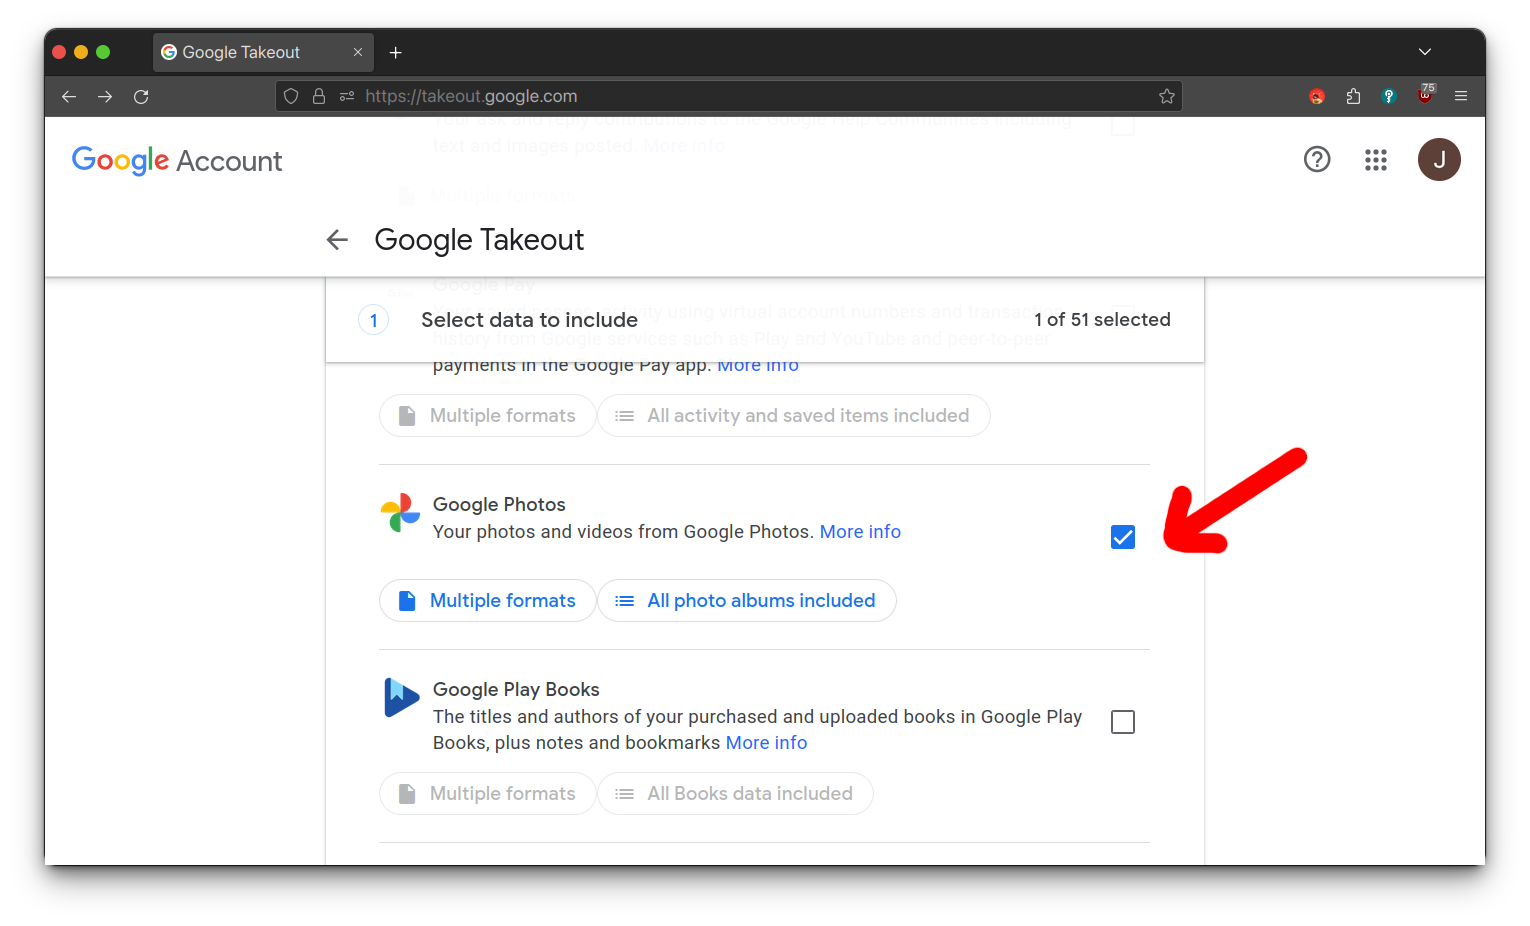
- I selected Google Photos option as the service to export.
- And initiate the data export and it informed to wait while Google prepared the download.
- After approximately an hour, I received an email from Google containing a download link. This link led me to a zip file containing my Google Photos data.

Data Cleaning
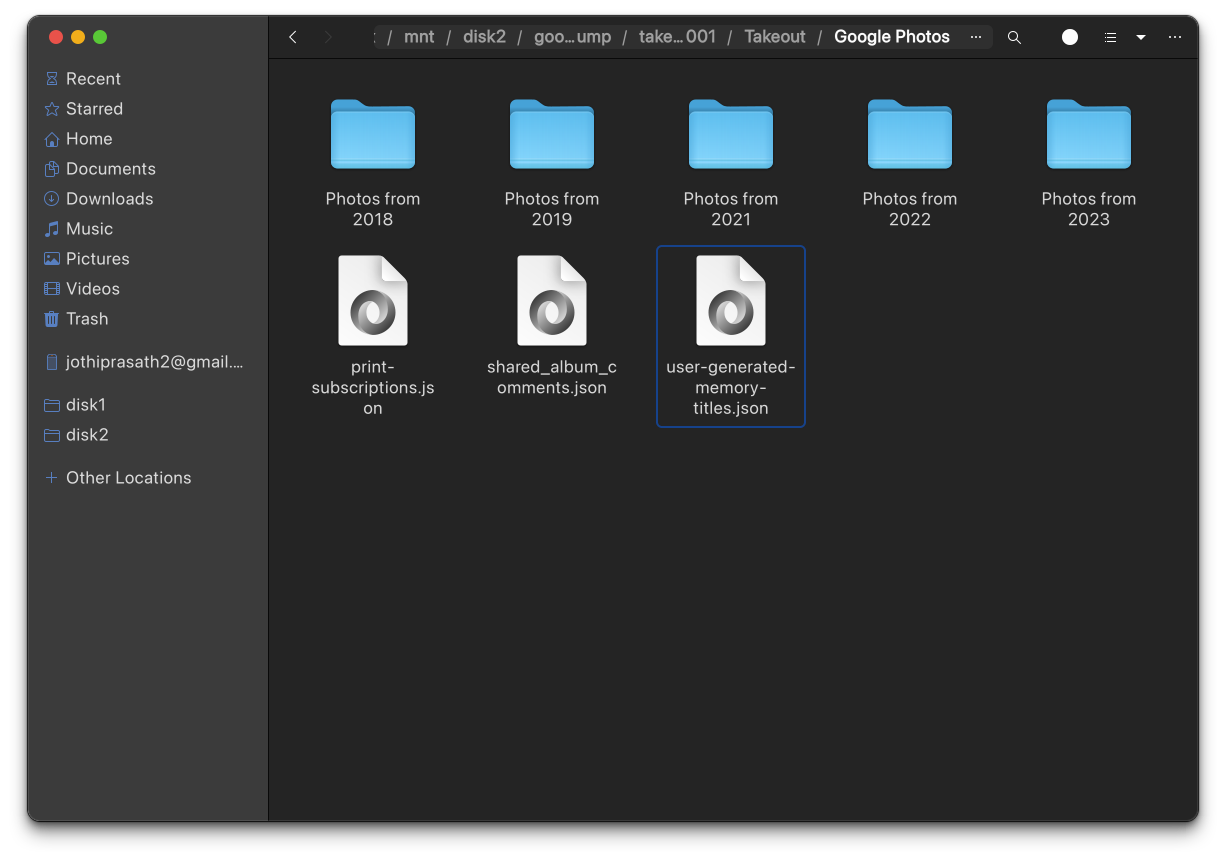
After downloading and extracting the zip files containing my Google Photos data, I was left with a total of 32 folders containing photos and videos. The way they structured initially included individual folders for each album, labeled with the album name. Additionally, separate folders were created for each year, such as “photos from 2020,” which contained all the photos from that year. However, the album folders duplicated the respective year-specific folders, resulting in unnecessary redundancy.
So I performed a data cleaning process by removing all the album and archive folders. As a result, Now I have a more organized structure with folders dedicated to each year (e.g., “photos from 2020”) that contain the photos from that specific year.
Merging Metadata
Disclaimer
The "google-photos-exif" script used for merging metadata, only works well with photos that contain EXIF metadata. EXIF metadata means information like device model, date, and other camera settings
Each of the year-specific folders contains images as well as separate JSON files that hold corresponding metadata. These JSON files contain important information such as the date and time of each image, as well as geolocation data.
To properly organize the images by date and time, it was crucial to merge the images with their respective JSON files. Fortunately, I discovered a useful script called google-photos-exif on github that specifically performs this task. The script efficiently merges the images with their corresponding JSON metadata and saves them all in one big folder.
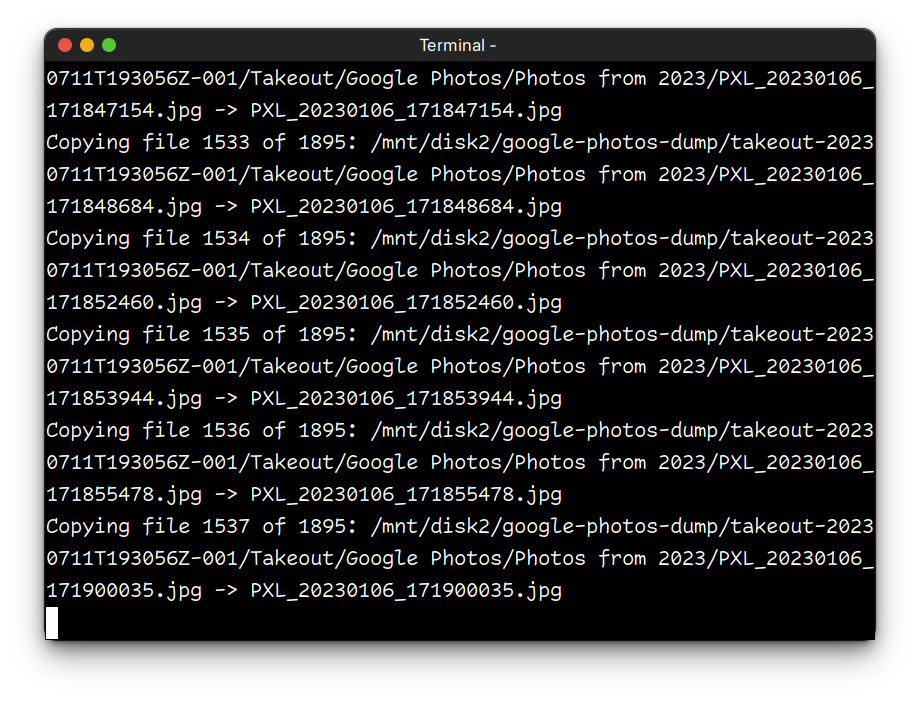
After completing the merging process, I cross-verified the results by checking some of the image properties. Specifically, I checked the “created on” information, where the original image date and time were explicitly printed.
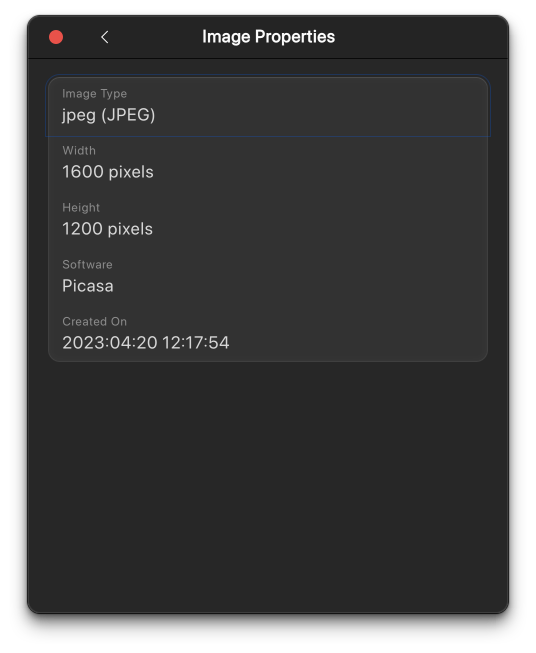
This successful merging of image metadata ensures that each image is now associated with its correct date, time, and other relevant information. And it stores all images in one folder, it simplifies the organization and future access of the images.
Analying The Files Before Conversion
After successfully merging the images with their corresponding metadata, the next step was to analyze the types of files present in the folder. This identifies the number of various file formats such as JPG, PNG, AVIF, HEIC, and videos.
To accomplish this, I began writing a Python script that goes through the entire folder and analyze the file types and sizes. The script provided the number of files for each format and their total sizes.
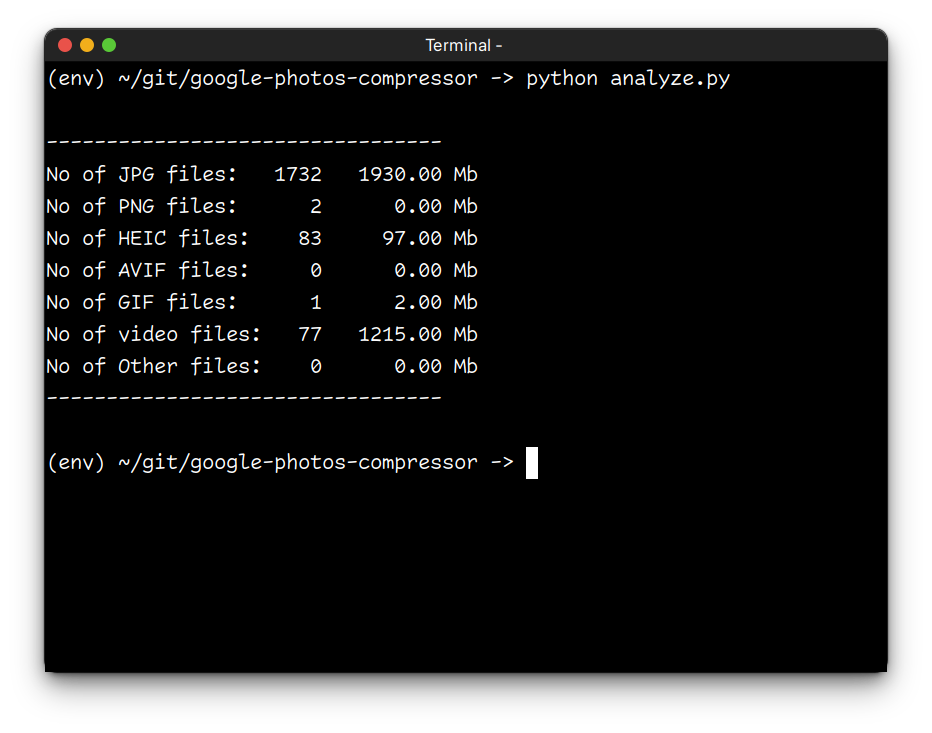
According to the script’s output, the folder contained:
- 1,734 normal JPG and PNG images, occupying approximately 1.93 GB of storage space.
- 82 HEIC images, which are typically captured by Apple devices and are already compressed, so I decided not to convert them. They occupy approximately 97 MB of storage space.
- Additionally, there were 77 video files, totaling approximately 1.21 GB. However, at this point, I am not yet familiar with video encoding formats and the longer encoding time required for videos on my laptop. Therefore, I excluded the videos from the conversion for now.
Converting Into AVIF
To convert the images into the AVIF format, I initially started writing a shell script. However, I soon realized the advantages of cross-platform compatibility and decided to scrap the shell script code. Instead, I began writing code in Python to perform the conversion.
For the conversion process, I used pillow_heif Python library, which provides support for handling AVIF images. To optimize the conversion speed and efficiency, I implemented parallel multi-processing techniques. The resulting code, along with all the necessary files, is available in a GitHub repository google-photos-compressor.
The conversion process takes approximately 45 minutes to complete. This can vary depending on the power and specifications of the system being used for the conversion. The processing speed and efficiency of the system play a significant role in determining the overall time required for the conversion. In my case, using a Ryzen 5 5500U processor with 6 cores and 12 threads running at 4GHz, with 8Gb ram
Analying The Files After Conversion
To calculate the impact of the conversion process, I used the same Python script to analyze the folder containing the converted images. Here are the findings:
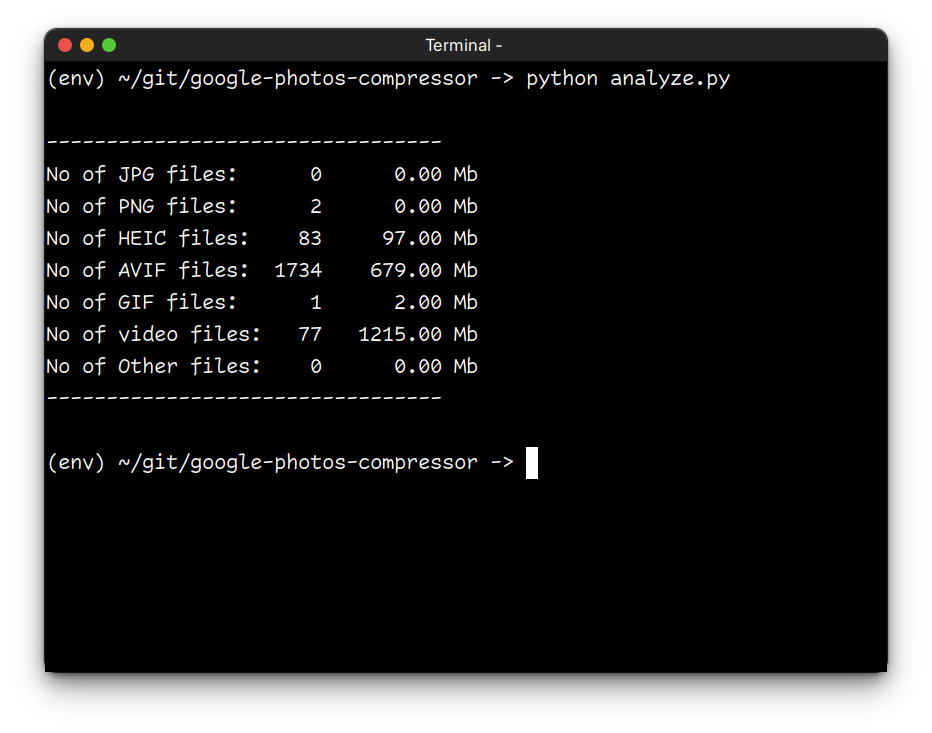
- The initial collection of 1.93 GB, consisting of 1,734 JPG and PNG images, has been compressed into 679 MB.
- The total size was significantly reduced to 679 MB, resulting in a compression rate of approximately 65%.
- As a result, the conversion process saved a total of 1.25 GB of storage space.
I have successfully optimized my image collection while ensuring that the visual quality of the photos is preserved.
Deleting All Images In Google Photos
When it came to deleting all the photos in Google Photos, I discovered that there was no built-in option to accomplish this task easily. Manually selecting and deleting each of the 1,734 photos would have been a time-consuming nightmare.
Fortunately, I came across a JavaScript solution that could be executed in the browser’s console to automate the selection and deletion of all the files in Google Photos. That script automatically selects and deletes the photos without the need for manual interaction. It saves a considerable amount of time and effort.
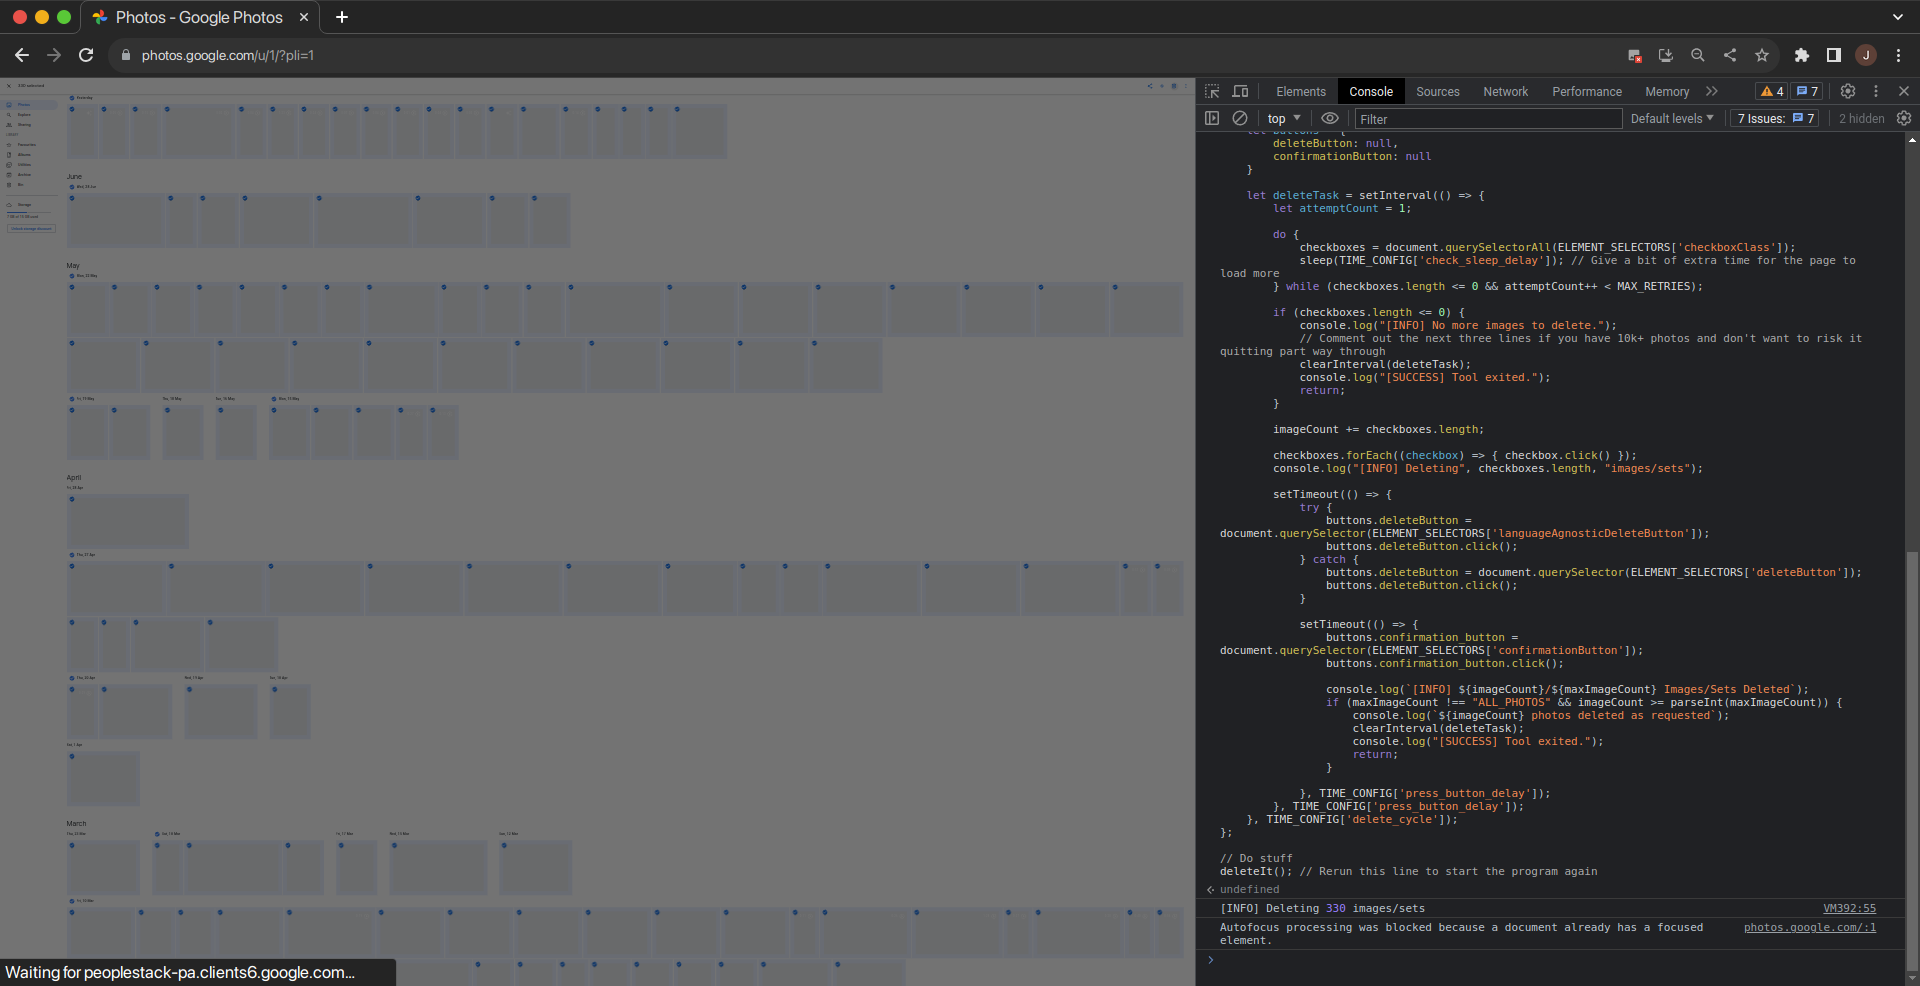
You can find the JavaScript code at the following link: delete_photos.js
Uploading Converted Photos To Google Photos
To upload the converted AVIF images, and other images and videos back to Google Photos, I followed a specific order. First, I uploaded the converted AVIF images, followed by the HEIC images, and finally the videos.
During the uploading process, I noticed that all the albums in the Albums section were empty. So, I proceeded to delete these empty albums.
After the upload was complete, I observed that a few images (5 in total) were screenshots and WhatsApp images, while some of the videos (15 in total) were received from WhatsApp. These images and videos were not properly sorted in terms of their date and time metadata.
To solve this issue, I manually adjusted the date and time for these particular images and videos, referring to the date and time information present in the original versions of the files. This helps me to arrange the images and videos in chronological order within Google Photos.
Conclusion
In this blog post, I shared my experience of downloading and converting my Google Photos collection to the AVIF format. Overall, by converting my Google Photos collection to the AVIF format, I was able to achieve significant storage savings while maintaining the visual quality of my images.
I hope my journey and the steps I followed to optimize my photo collection using AVIF format will inspire and guide others in their efforts to manage and optimize their digital media.