How to Enable Anime4k Upscaling in MPV Player
Upscaling Anime real-time using Anime4k in MPV
What is Anime4k?
Anime4K is a set of open-source, high-quality real-time anime upscaling/denoising algorithms that can be implemented in any programming language. This is also not replacement for SRGANs, as they perform much better on low-resolution images or images with lots of degradation.
Disclaimer
Anime4k is optimized for native 1080p anime. For lower resolution video file try using FSR upscaling.
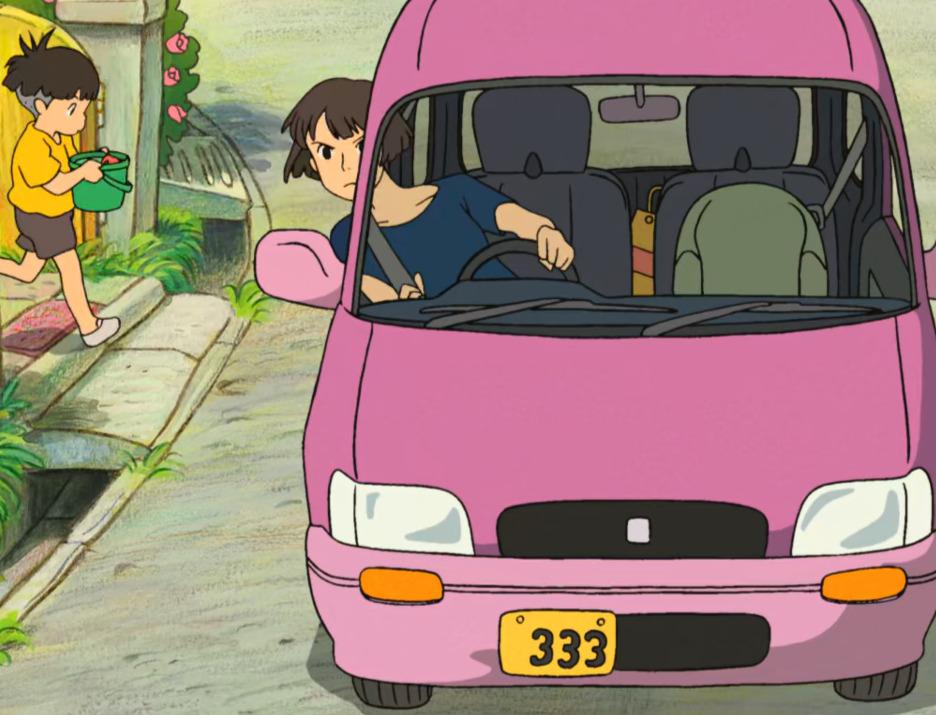
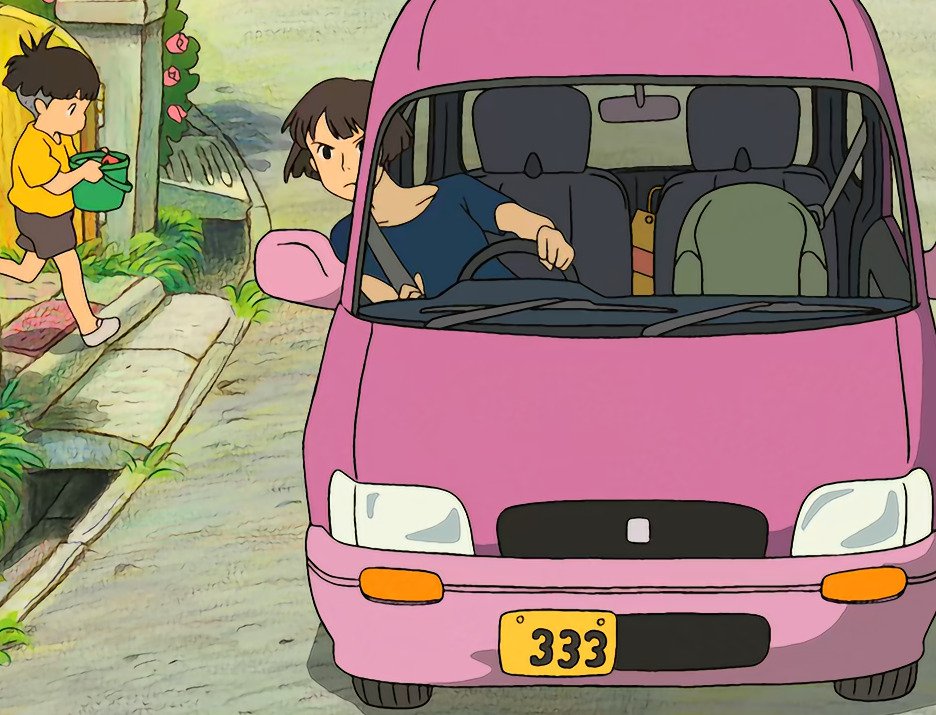
Samples


Step 1: Install MPV
Windows
Download the installer from the official MPV website and follow the installation instructions.
Linux
Ubuntu/Debian
sudo apt-get install mpv
Fedora
sudo dnf install mpv
Mac
brew install mpv
Step 2: Create a Shaders Directory
Windows
- Navigate to appdata. This is typically located in %APPDATA%. You can quickly navigate there by entering this path into the File Explorer’s address bar.
- Create a Folder “mpv” inside that folder.
- Inside the “mpv” folder, create another folder named “shaders”.
- Inside that “shaders” folder, create a folder named “anime4k”.
Linux/Mac
mkdir -p ~/.config/mpv/shaders/anime4k
Step 3: Download the Anime4k Shaders into MPV
Windows
- Download this file https://github.com/bloc97/Anime4K/releases/download/v4.0.1/Anime4K_v4.0.zip
- Extract the downloaded file, where you can find bunch of
.glslfiles. - Copy that those
.glslfiles into previously created “anime4k” folder.
Linux/Mac
Run this command to download the Anime4k shaders into mpv shaders folder
curl -Lo ~/.config/mpv/shaders/anime4k/anime4k.zip https://github.com/bloc97/Anime4K/releases/download/v4.0.1/Anime4K_v4.0.zip
unzip ~/.config/mpv/shaders/anime4k/anime4k.zip -d ~/.config/mpv/shaders/anime4k/
rm ~/.config/mpv/shaders/anime4k/anime4k.zip
Step 4: Modify MPV Configuration File
Windows
- open the mpv folder and create a text file “input.conf”
- Paste the following lines and save it.
CTRL+1 no-osd change-list glsl-shaders set "~~/shaders/anime4K/Anime4K_Clamp_Highlights.glsl:~~/shaders/anime4K/Anime4K_Restore_CNN_M.glsl:~~/shaders/anime4K/Anime4K_Upscale_CNN_x2_M.glsl:~~/shaders/anime4K/Anime4K_Restore_CNN_S.glsl:~~/shaders/anime4K/Anime4K_AutoDownscalePre_x2.glsl:~~/shaders/anime4K/Anime4K_AutoDownscalePre_x4.glsl:~~/shaders/anime4K/Anime4K_Upscale_CNN_x2_S.glsl"; show-text "Anime4K"
CTRL+0 no-osd change-list glsl-shaders clr ""; show-text "GLSL shaders cleared"
Linux/Mac
- Run this command to create/open input.conf file
nano ~/.config/mpv/input.conf
- Paste the following lines and save it.
CTRL+1 no-osd change-list glsl-shaders set "~~/shaders/anime4K/Anime4K_Clamp_Highlights.glsl:~~/shaders/anime4K/Anime4K_Restore_CNN_M.glsl:~~/shaders/anime4K/Anime4K_Upscale_CNN_x2_M.glsl:~~/shaders/anime4K/Anime4K_Restore_CNN_S.glsl:~~/shaders/anime4K/Anime4K_AutoDownscalePre_x2.glsl:~~/shaders/anime4K/Anime4K_AutoDownscalePre_x4.glsl:~~/shaders/anime4K/Anime4K_Upscale_CNN_x2_S.glsl"; show-text "Anime4K"
CTRL+0 no-osd change-list glsl-shaders clr ""; show-text "GLSL shaders cleared"
Usage Instructions
Play a anime video and press ctrl+1 to enable Anime4k and ctrl+0 for disable it.